Once guidance starts, the drive screen keeps the map front and centre and tucks the details where you can glance at them. Here is how to read it.
Drive mode is part of the Basic plan or higher; without a subscription you'll see a card that reads "Turn-by-turn RV-safe navigation requires a Basic subscription or higher" with a See plans button. During the public beta, Pro is included for everyone, so drive mode is available.
Getting ready
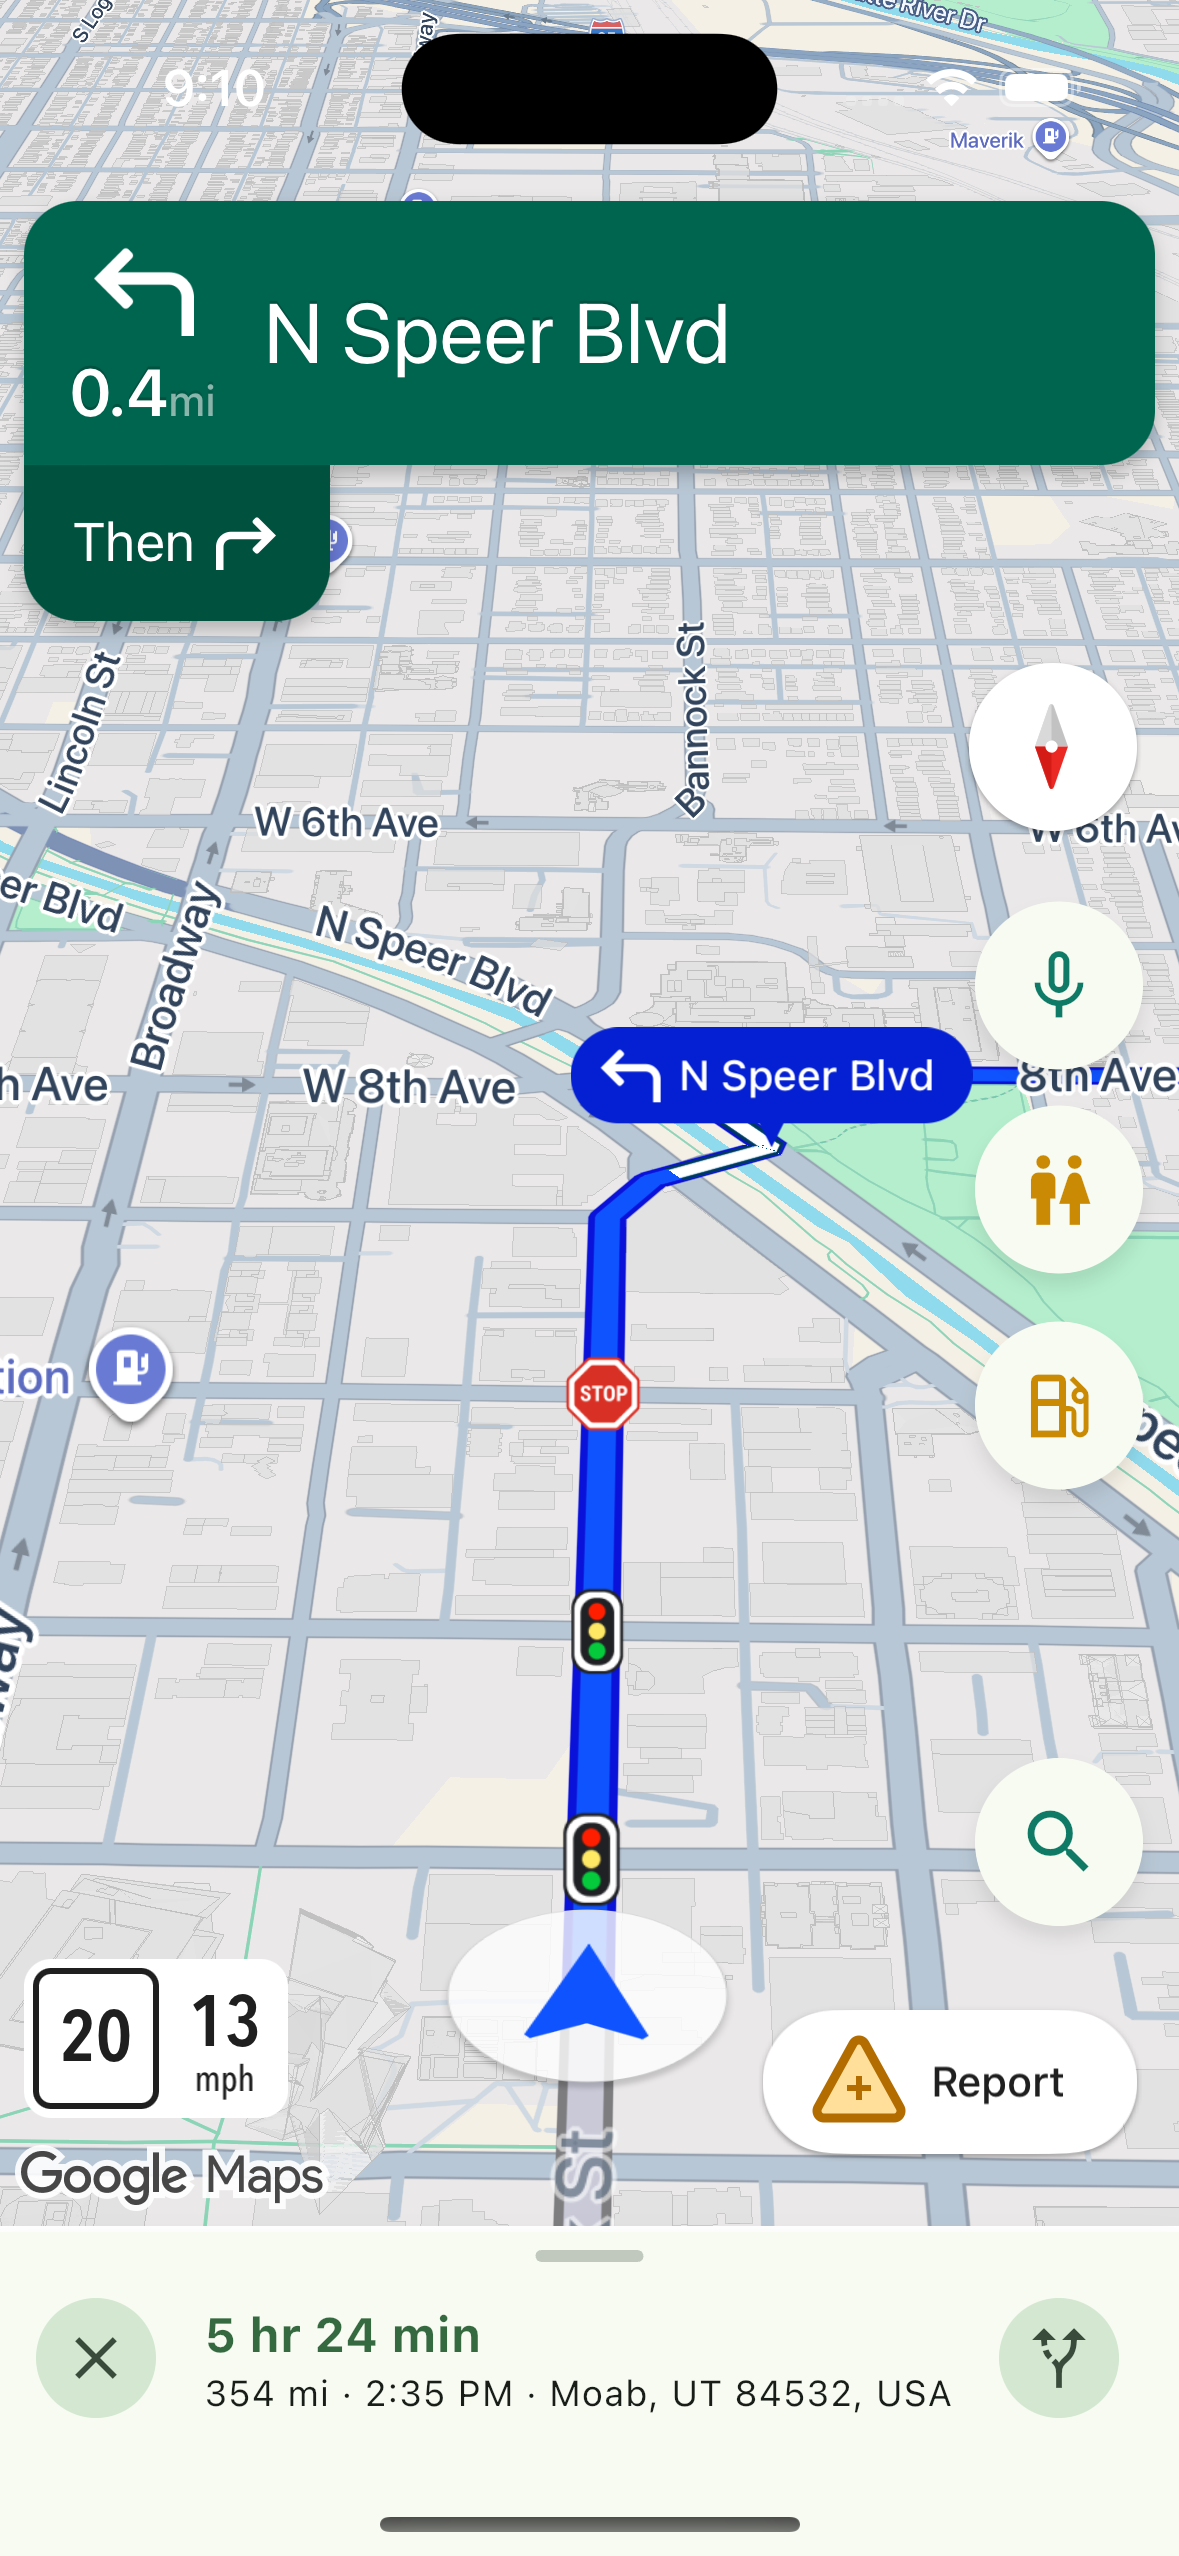
While it sets up, the screen says "Preparing navigation…". Speed and the speed limit appear once guidance is running.
Speed
If you go over the limit, the speed text turns red at a few miles over, and the whole chip turns red once you are well over and staying there. Treat it as a nudge to check your own speedometer, not a precise measurement.
The turns panel
The panel across the bottom starts collapsed, showing your time remaining, then distance, arrival time and where you are heading. Drag the handle up for the full list of remaining turns, named by road, with your actual destination on the last row.
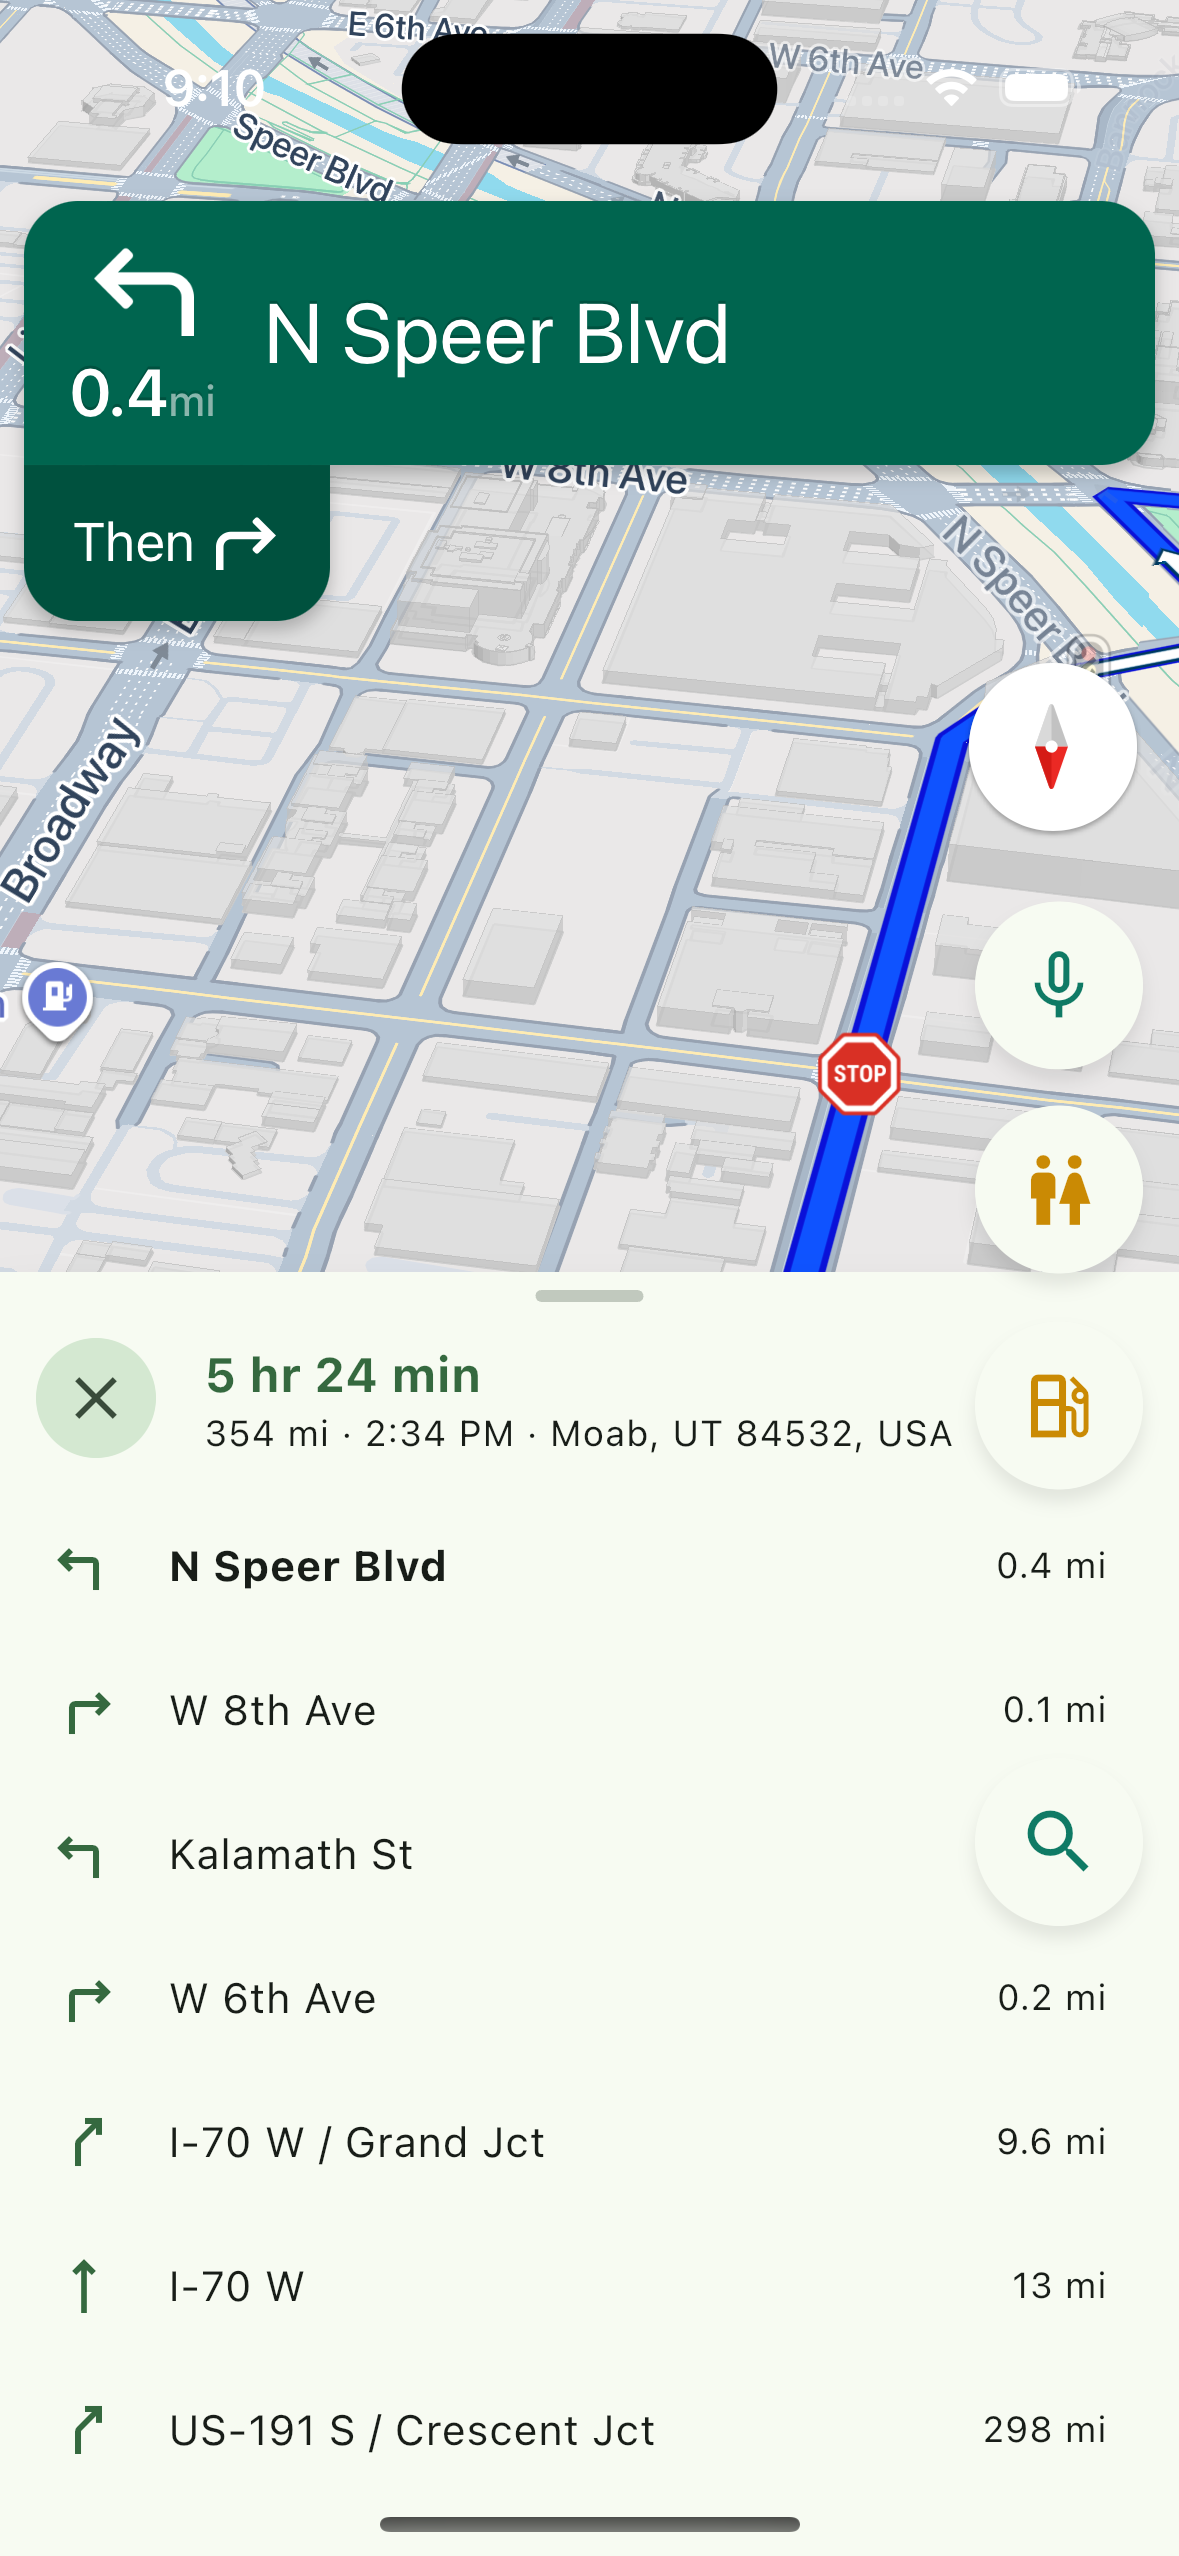
When you have added a stop, the destination line reads "via" that stop, and its row in the list reads Stop: and its name. Tap that row to skip it: you'll be asked to confirm "Skip" that stop "and route straight to" your destination, with Keep stop and Remove.
The two round buttons
An X ends navigation, and the other lets you change route. Your phone's back gesture ends the drive the same way as the X.
A note on routing
Routes are built for your rig and are guidance, not a guarantee. You are still the driver: watch clearances, weights and conditions.
Related
- Starting a drive
- Driving your trip one leg at a time
- Picking up a drive you left
- Choosing between route options
Was this article helpful?
That’s Great!
Thank you for your feedback
Sorry! We couldn't be helpful
Thank you for your feedback
Feedback sent
We appreciate your effort and will try to fix the article